HP Quality Center - Quickly get started
Chapters
Test Plans
A good test plan allows the team to check the quality of the application under test at any point in the software development life cycle. Based on the requirements test case are created. The created tests will covering all the scenarios is the key factor of a product.
Creating Tests:
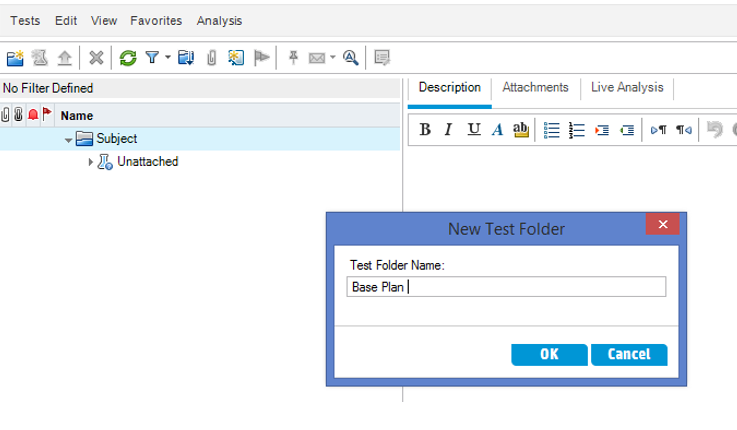
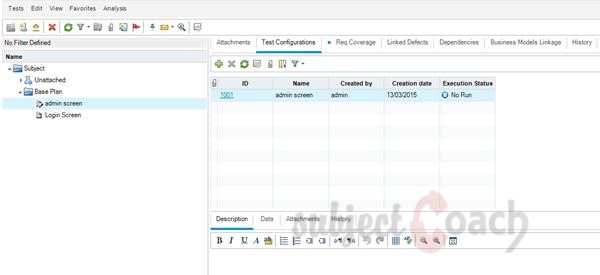
Step 1: Create a folder for having the test sets, as shown.
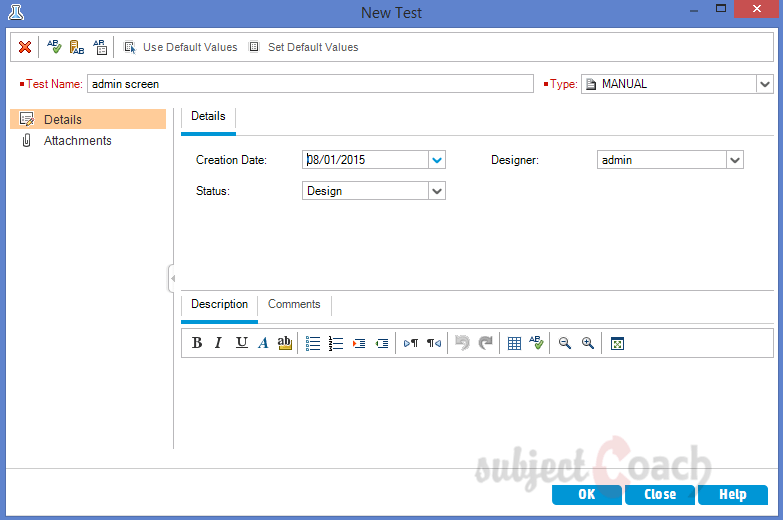
Step 2: Click “New Test” Button and Enter details of the test Scenario as shown . "Test Name" and "Type" are mandatory fields.
Step 3: Select the Test and the Tabs would be generated as shown.

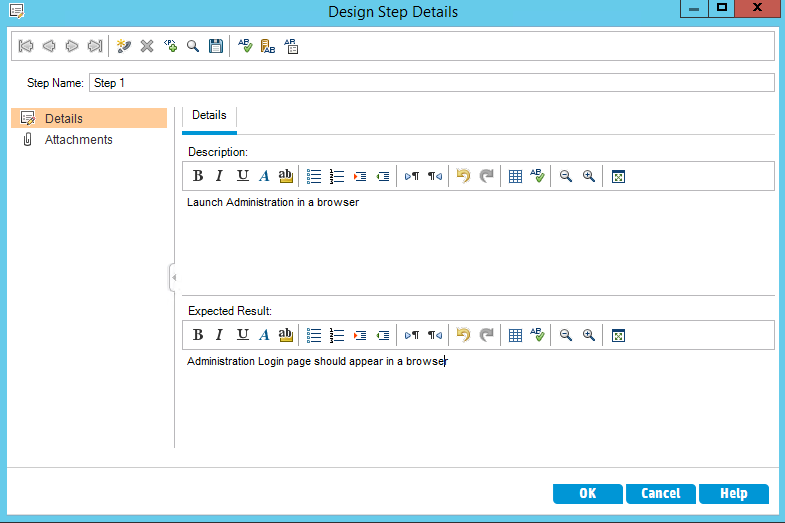
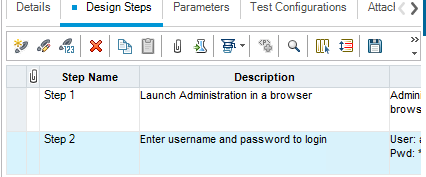
Step 4: Click on "Design Step Details" and give step name and description.
Step 1: To Launch SubjectCoach login page.
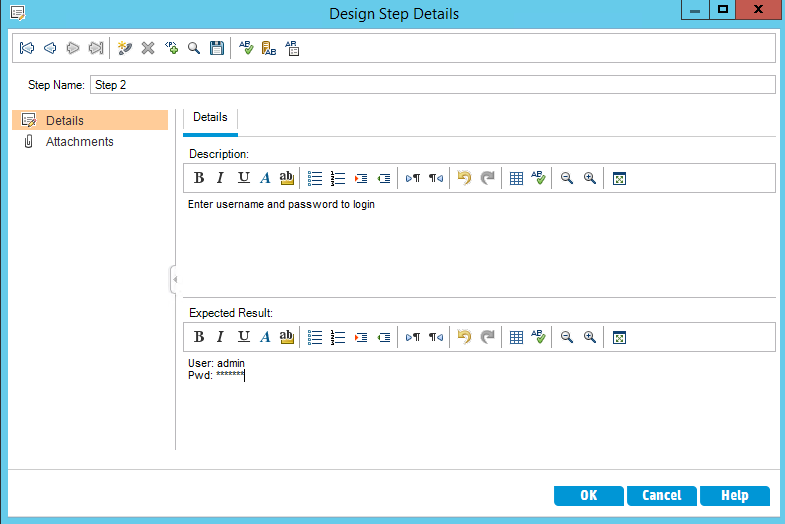
Step 2: Login to SubjectCoach Console.
Design steps can be accessed using "Design Steps” tab as shown.
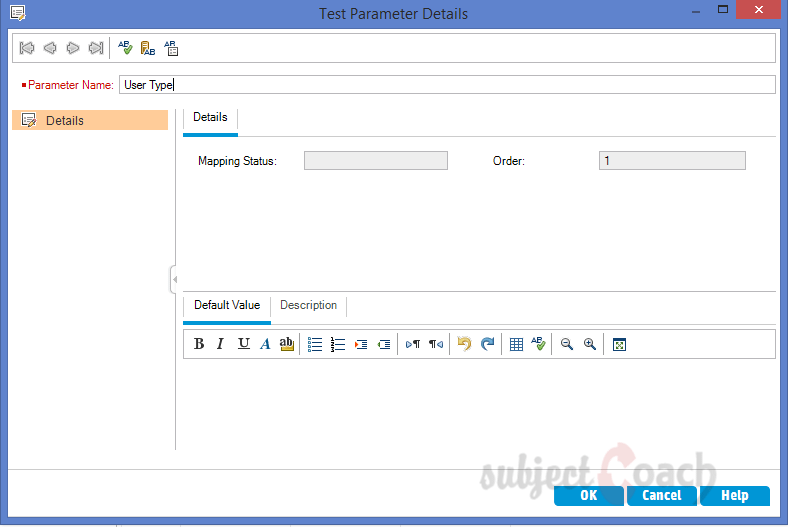
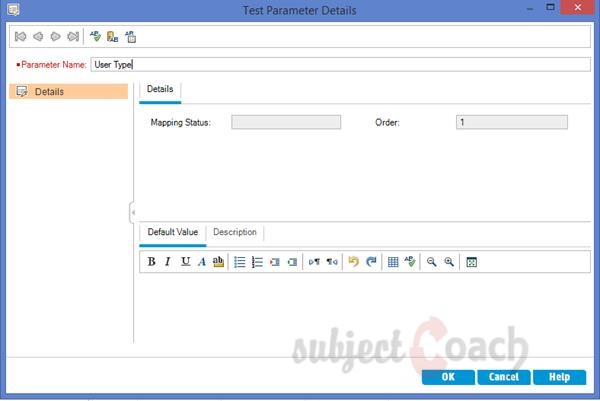
User can enter Test Parameter Details using "Parameters" Tab
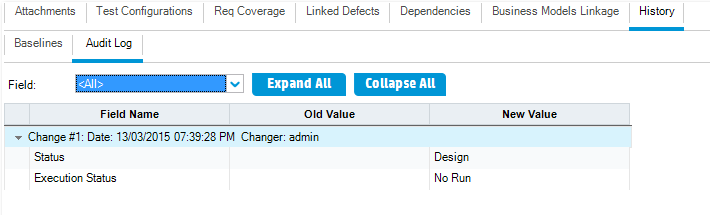
"History-Audit Log" tab shows history of a particular test case
Requirement and Test Coverage:
Tester can establish the connection between requirement s and test coverage’s. This help’s in test managers to take well formed decisions about the status of each one of those requirements.
To link requirements and tests follow below steps.
Step 1: Select to the Test Plan tab and go the test case against which the requirement has to be mapped.
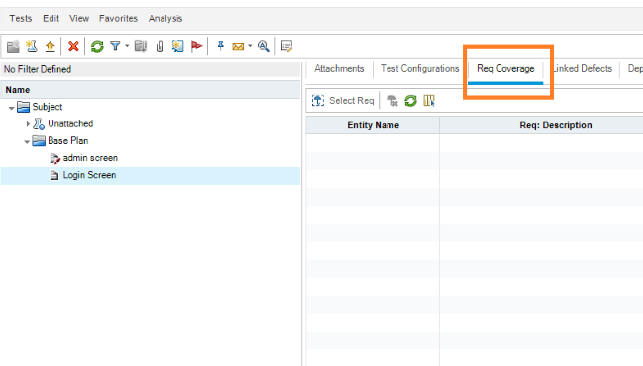
Step 2: Click "Select Req", the requirement tree open in right pane and user’s can select the related requirement.
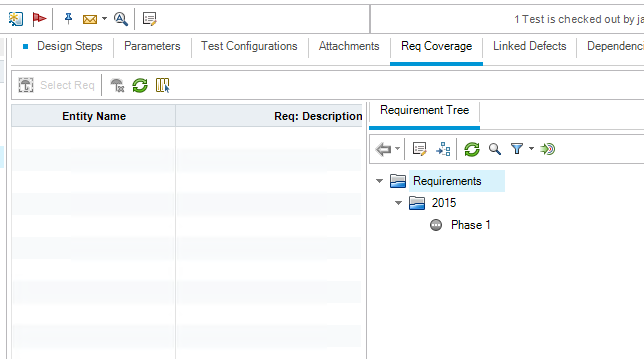
Step 3: The above mapping helps to generate traceability matrix which defines each requirement covered in the form test case or not and upon execution of tests case we will be able to see what percent of tests for a specific requirement has passed/failed.
Test Configuration:
Test Configurations helps the testers to test various use cases with a different set of data’s. Testers can use a single test to cover multiple requirements by associating to different test configuration in the same test for each requirement.
Following are the steps for Test Configurations.
Step 1: Ensure that all the prerequisite such as requirement and test cases are created.
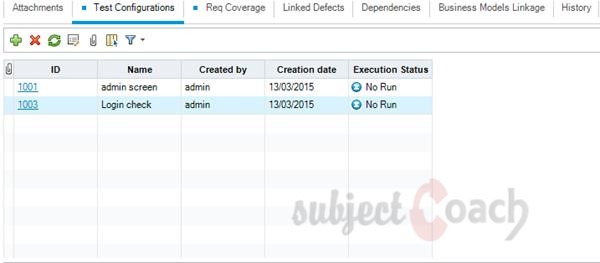
Step 2: Navigate to the "Test configurations" tab of test plan module to create Test Configuration.
Step 3: Click on "+" icon to create a new Test Configurations and “Test Configuration” window opens as shown.
Step 4: After new Test Configurations are created, the Test Configuration is listed as shown.
Step 5: Create Requirement coverage as in previous module - Test and Requirement Coverage.
Step 6: Create test sets in test lab module and execute them for each one of those configurations.
Step 7: After executing the test cases, analyze the results in test runs tab.
Just highlighting this point again that this tutorial is not a detailed explanation on hows of HP ALM, but this tutorial is focused on getting you some basic knowledge so you can go on and start using HP ALM straight away rather than not being aware of what is what.
In next part we will explore the important parts of Test Lab
Description
Contents of this tutorial includes parts below
- What id HP Quality Center
- Environment Set up
- Configurations on Server Side
- Getting to know some commonly used features
- Management Tab
- Requirements
- Test Plan
- Test Lab
- Integrating QTP with QC
- Defects
- Dashboard Analysis
- Customization
This tutorial is to the point effort to quickly get you started with HP quality center.
Audience
Students looking to get started with HP Quality Center
Learning Objectives
Quickly familiarize yourself with HP Quality Center
Author: Subject Coach
Added on: 23rd Mar 2015
You must be logged in as Student to ask a Question.
None just yet!